Email is the most powerful tool for enterprise level communication as it provides accountability and reliability in communication. To an organization, the emails that are received by the employees are a valuable resource. When an employee resigns or is terminated from the company, the organization might still need access to his/her mailbox. This is especially significant in sales, support and administration activities as it can impact the organization either directly or indirectly. This scenario can be addressed by allowing an authority within the organization to access the de-provisioned mailbox and is an important challenge within identity and access management. The risks and compliance guidelines associated with this approach are also factors that need to be considered.
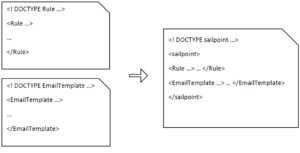
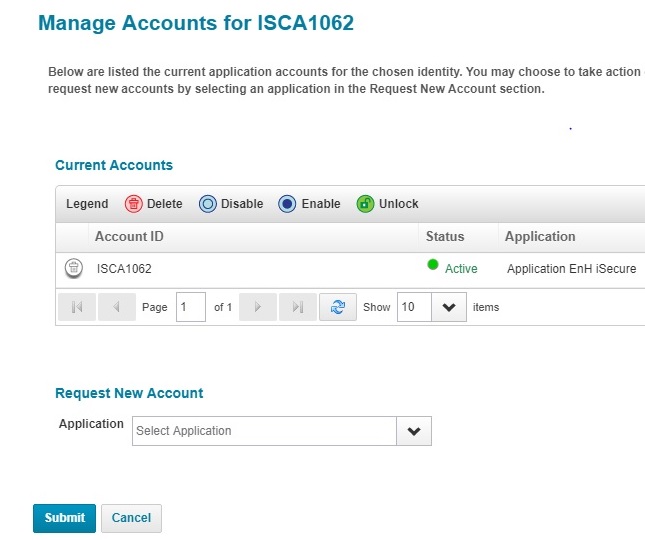
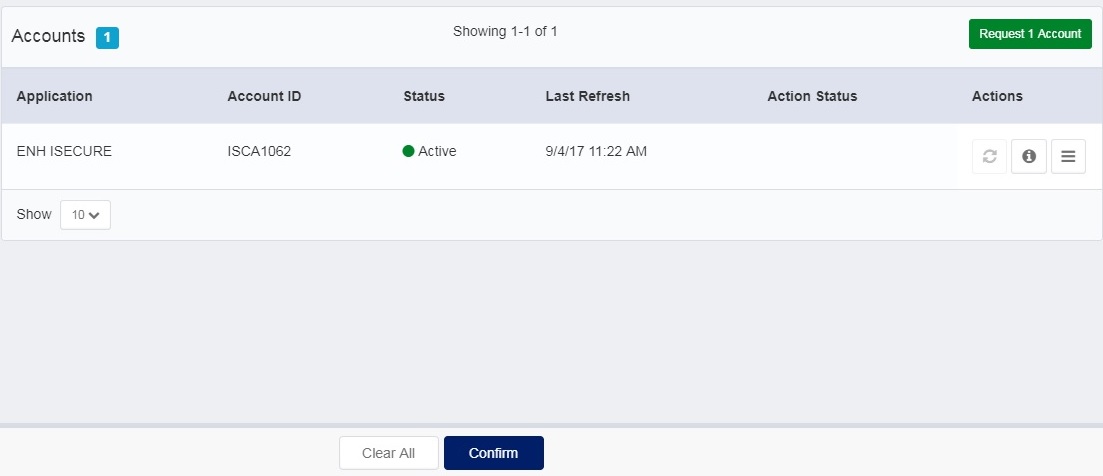
Sailpoint’s IdentityIQ is shipped with a connector for Active Directory. This connector supports management of users, groups and mailboxes on Exchange server. However, for modifying the mailbox permissions, native rules need to be configured in order to execute the corresponding PowerShell scripts.
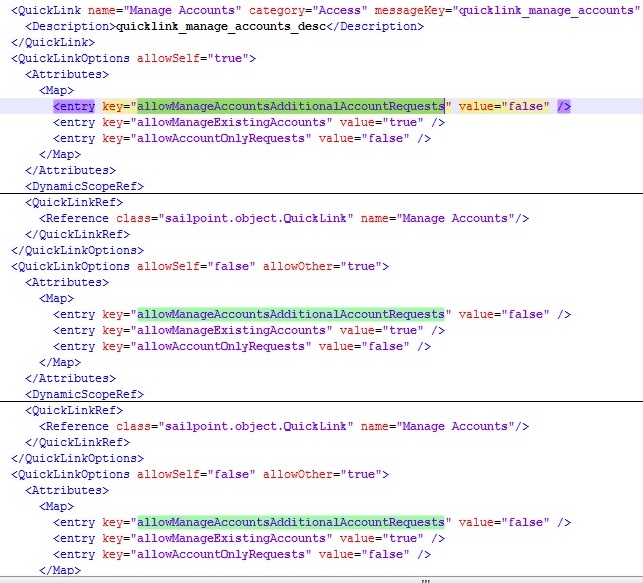
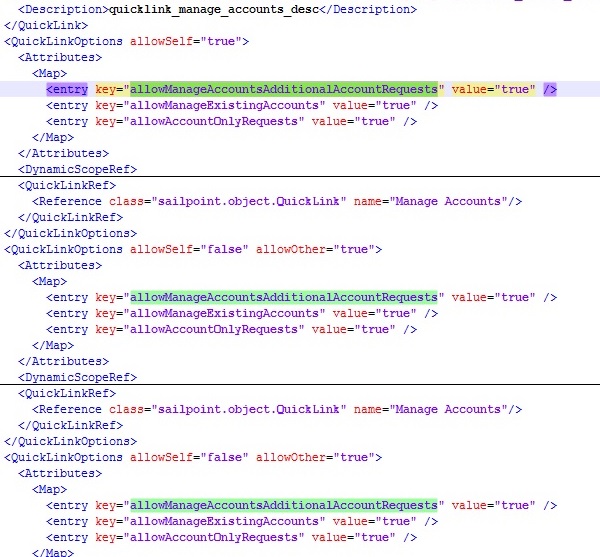
The following presentation introduces a scenario where handling mailbox permissions would be required. After an overview of native rules, the implementation of this use case is also discussed.
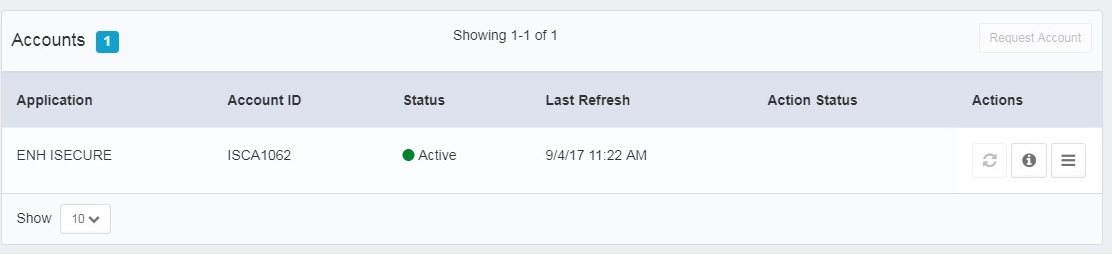
The following demo focuses on granting Exchange mailbox permissions via IdentityIQ and verifying that the changes are reflected on the mail server.